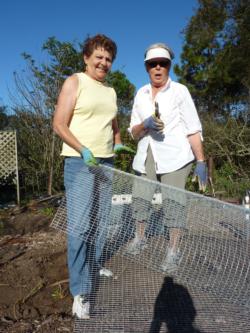
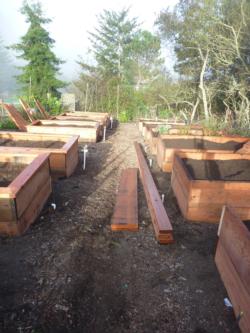
Hero Image

Building the Planting Beds

Building the planting beds - 2011

What do you get when you combine unbridled enthusiasm, relentless determination and supportive teamwork with 1450 board feet of redwood, 32 cubic yards of top grade organic soil, 112 feet of galvanized wire and 25 pounds of 3 ½ inch screws?  You get 14 new solid, aesthetically pleasing raised beds for the ‘Master Gardener Trial Gardens’ at Elkus Ranch. 
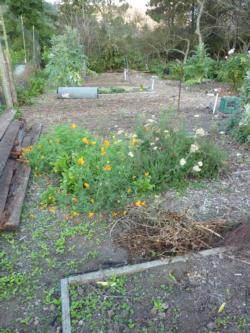
beds - before
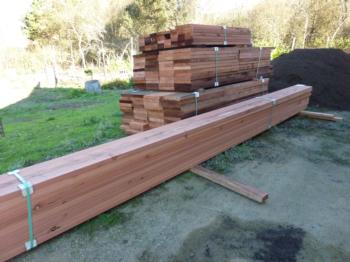
beds - before
On the weekend of October 29th and 30th, 2011, the dedicated team of Master Gardeners at Elkus Ranch, joined by loyal family and friends, removed and replaced the rotted, old vegetable beds with new raised beds.  Thirteen people worked over the two days preparing the land, assembling the beds and filling them with soil.  It was a good, old fashioned ‘barn raising’ with exceptional comraderie, team work and of course food, the ‘not so secret’ ingredient to all great Master Gardener gatherings. It was an unconditional pleasure to work with this outstanding group of people.

1450 board feet of redwood
Eight hundred board feet (12 foot lengths) of 2” (inch) x 12’ (foot) redwood were cut into 8’ and 4’ sections.  Two 8 foot lengths and two 4 foot lengths were screwed together to form a rectangular box. 
cutting the 16 gauge steel hardware cloth
Four foot wide 16-gauge galvanized steel hardware cloth was cut into 8 foot lengths and securely fixed to the bottom of the box with ¾” poultry staples.  The hardware cloth was essential in keeping the gophers out of the beds.  Once the steel was in place, the box was flipped over and positioned in the garden.  Another 4’ x 8’ box was made, placed on top and screwed to the bottom box. 

Two hundred and fifty board feet (in 10 foot lengths) of 2” x 6’ were cut into 8’ 4” lengths and 3’8” lengths.  These caps, two of each size were screwed to the tops of each bed creating a little platform to sit upon while gardening.
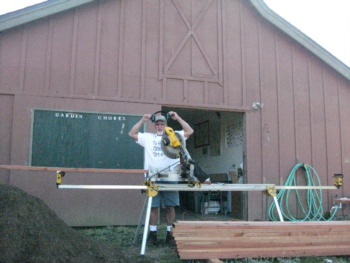
cutting the redwood
cutting the redwood
Four hundred board feet (in 10 foot lengths) of 2” x 6’ were cut to 5 foot lengths and then ripped down the middle creating boards just under 2” x 3”.  These were used as risers, six per bed.  The risers perform a dual function: sunk into the ground and attached to the beds, they offer additional stability; rising above the beds, they provide a place to attach netting or row covers to protect the plants from insect and animal damage.  Small notches were made in the caps allowing the risers to sit flush against the bed.  (Spreaders lying between the risers will be added.)

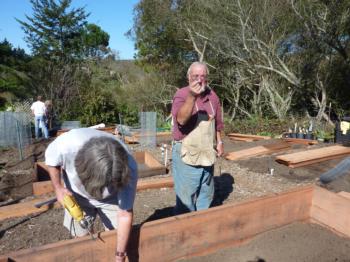
building the beds
building the beds
Working in small teams was the most efficient way to complete this immense project in a weekend.  While one team sawed, another used the screwdriver, cut steel, stapled, or moved soil.  We rotated functions allowing us all to learn and teach as needed.  As a home gardener, it is unlikely you will need to build 14 beds as we did.  But these guidelines may help inspire you to create your own beds suited to your space.  I wish you great joy in your gardening and the pleasure and health benefits of growing your own food. 
beds - after
beds - after

Submitted by Janet Didur, Project Leader 2011

For more information, please contact the Master Gardener Help Line at (650) 726-9059 ext 107.